1. Installation & First Launch
1.1 Installation
Installing Alva is straightforward. Double-click the installer file you downloaded and follow the on-screen steps. No administrator rights are required — Alva installs to your user folder automatically.
Once the installation is complete, a desktop shortcut is created so you can launch Alva at any time.
1.2 First Launch — Sign In
When you open Alva for the first time, an onboarding flow walks you through the initial setup. You will be asked to sign in with your ChatGPT credentials. This connects Alva to the AI backend that powers the assistant.
After signing in, Alva automatically verifies that all required dependencies are present on your system.
1.3 Dependencies (Meetings)
To use the Meetings mode (recording and transcription), Alva needs a few additional components:
- Python (portable version) — runs locally, no global install required
- FFmpeg — handles audio processing
- Faster-Whisper — the AI model used for speech-to-text transcription
All of these are installed automatically with a single click from the onboarding screen. A progress indicator shows each component as it downloads and installs.
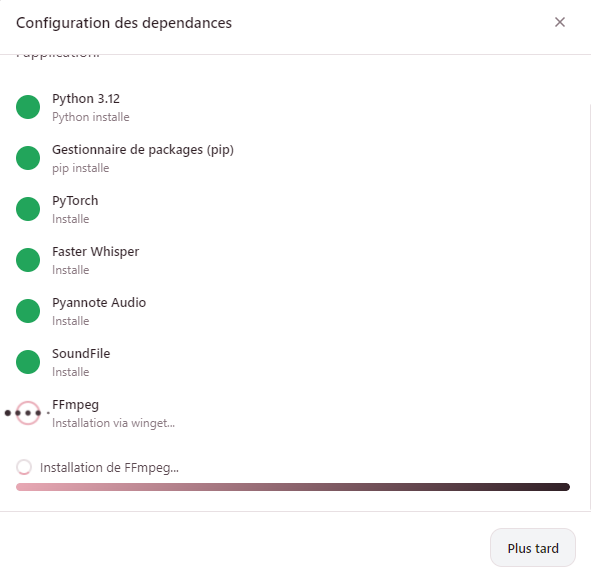
The initial dependency installation can take 5 to 15 minutes depending on your internet speed and hardware. This only happens once — subsequent launches are instant.
2. Interface Overview
2.1 Overview
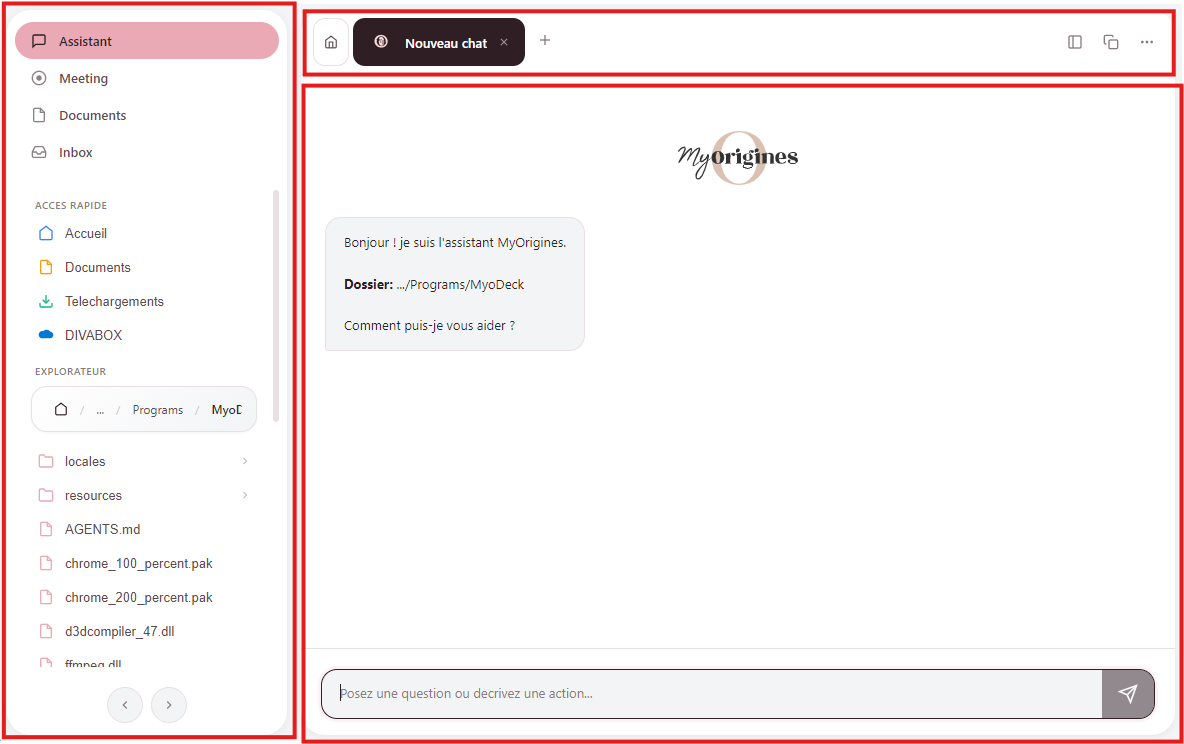
The Alva interface is organized into three main zones:
- Left sidebar — Contains the file explorer and mode navigation. Switch between the four modes (Assistant, Meetings, Documents, Inbox) from here.
- Center area — The main workspace. Displays the chat, active mode content, or document viewer depending on what you are doing.
- Header bar — Shows conversation tabs, action buttons, and indicates which mode you are currently in.
2.2 The 4 Modes
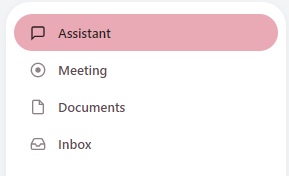
Assistant
AI chat with full access to your files. Ask questions, request changes, generate content — all in natural language.
Meetings
Record meetings, transcribe them with AI, and extract key information. Works with Teams, Meet, Zoom, and more.
Documents
Analyze images and PDFs with AI. Drop a document and ask questions about its content.
Inbox
Connect Outlook mail and Jira tickets. View, filter, and chat with AI about your messages and tasks.
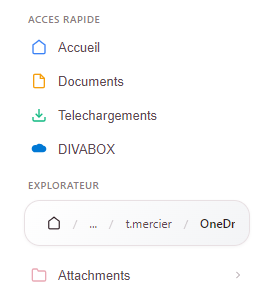
2.3 File Explorer
The left sidebar includes a built-in file explorer that gives the AI context about your work. Key features include:
- Quick access — One-click access to your Desktop, Documents, and Downloads folders.
- Folder navigation — Browse your file system with breadcrumb navigation.
- Real-time search — Type to instantly filter files in the current folder.
- File selection for AI context — Select a folder to give the assistant access to those files. The AI can then read, create, and modify files within it.
3. Assistant Mode (AI Chat)
3.1 Send a Message
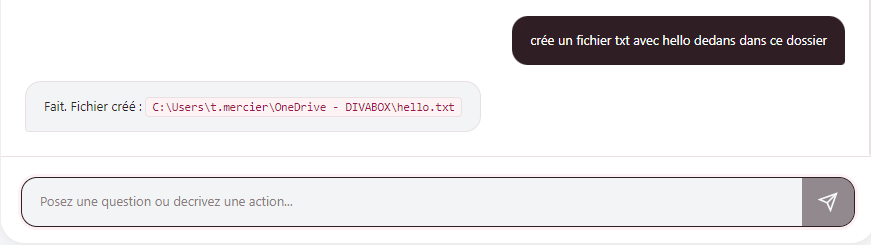
Type your request into the input field at the bottom of the screen and press Enter to send. The AI responds in real time, streaming text, code, and actions as they are generated.
The assistant has access to the folder you selected in the file explorer. It can:
- Read existing files and understand their content
- Create new files from scratch
- Modify and update existing files
- Answer questions about your project structure
3.2 Conversation Tabs
You can have multiple conversations open simultaneously. Click the "+" button in the header to start a new conversation tab. Each tab maintains its own independent history.
Drag and drop tabs to reorder them as you like.

3.3 Commands and Settings
Click the "..." menu in the top-right corner to access additional options:
- History — Browse and reopen past conversations
- Settings — Configure AI model, theme, shortcuts, and more
- Support — Access help and support resources
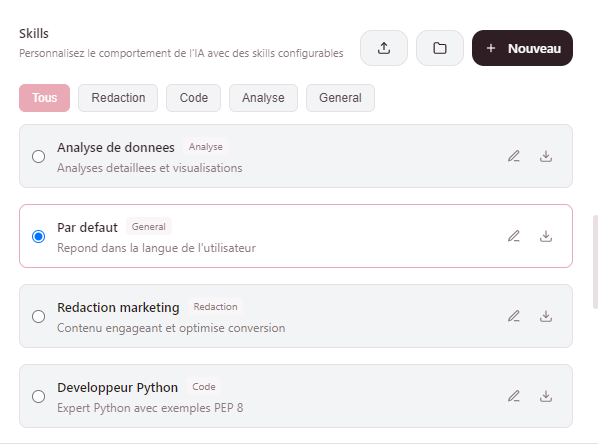
3.4 Skills
Skills are pre-configured instructions that guide the AI for specific tasks. When you select a skill, the assistant receives tailored instructions that improve its output for that particular use case.
Select a skill from the dropdown above the input field before sending your message.
Example: "Email to Excel"
This skill instructs the AI to extract structured data from email text and format it as a spreadsheet. Select the skill, paste the email content, and the assistant generates an organized table.
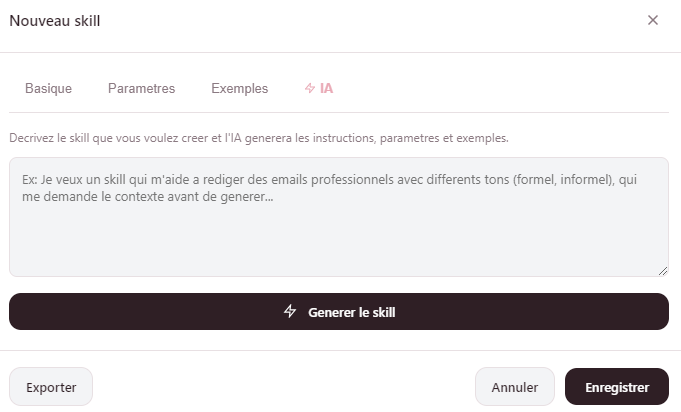
You can create your own custom skills in Settings. Define a name, description, detailed instructions, prerequisites, and examples to tailor the AI to your specific workflows.
4. Meetings Mode (Transcription)
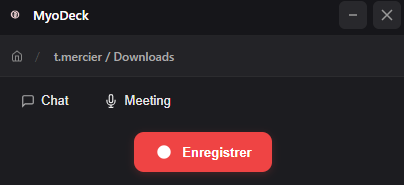
4.1 Start Recording
Open the floating recording window by pressing Ctrl+Shift+Space or by clicking the recording button in Meetings mode. Then click the red record button to begin.
Alva captures both your system audio (from applications like Teams, Google Meet, Zoom, etc.) and your microphone simultaneously.
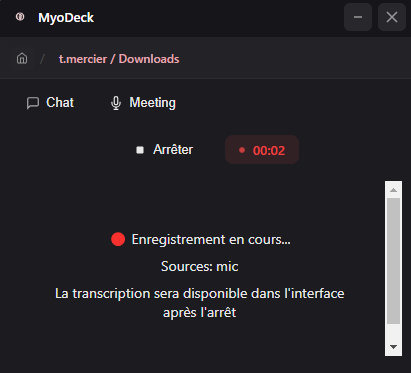
4.2 During Recording
A red indicator confirms that recording is active. You can continue using your computer normally — work in other applications, browse the web, or take notes. The recording runs quietly in the background.
4.3 Transcribe
When the meeting is over, click "Transcribe". The AI processes the audio, identifies different speakers, and generates a full text transcript. Once complete, you are redirected to the assistant where you can ask questions about the meeting content.
4.4 Use the Transcription
After transcription, quick action buttons let you instantly generate:
- Summary — A concise overview of the meeting
- Key Points — The most important topics discussed
- Action Items — Tasks and follow-ups assigned during the meeting
- Full Transcript — The complete transcript with timestamps

4.5 Audio Permissions
System audio (from other applications) is captured automatically without additional configuration. However, your microphone requires Windows permission to be accessed.
If your microphone is not being detected, check your privacy settings: Windows Settings > Privacy > Microphone and ensure Alva (or the Electron app) has access.
5. Documents Mode
5.1 Analyze a Document
Drag and drop a file into the Documents view, or select one from the file explorer. Once the document is loaded, type your question in the input field — the AI will analyze the content and respond.
5.2 Supported Formats
Documents mode supports the following file types:
Images
PNG, JPG, GIF, WebP, BMP, SVG
Documents
Documents mode uses the Gemini API for analysis. You need to configure your Gemini API key in Settings for this feature to work. See the Integrations guide for setup instructions.
6. Inbox Mode (Mail & Tickets)
6.1 Connect Outlook
To use your Outlook email in Alva, go to Settings > Inbox and enter your email address along with an app password. App passwords are required because Alva uses IMAP to access your mailbox securely.
For step-by-step instructions on generating an app password, see the Outlook section of the Integrations guide.
6.2 Connect Jira
To pull in Jira tickets, go to Settings > Inbox and enter your Jira email, API token, and site URL (e.g., yourcompany.atlassian.net).
For instructions on generating a Jira API token, see the Jira section of the Integrations guide.
6.3 Use the Inbox
Once connected, Inbox mode provides a unified view of your emails and tickets:
- Filter — Switch between All, Mail, and Tickets views
- Browse — Scroll through your messages and tickets in a clean list
- View details — Click any item to see its full content
- Chat with AI — Ask the assistant questions about specific emails or tickets, draft replies, or extract information
7. Settings & Customization
Open Settings from the "..." menu > Customization, or use the keyboard shortcut Ctrl+,.
7.1 Theme
Choose between two interface themes:
- Light (default) — White background, optimized for bright environments
- Dark — Dark background, easier on the eyes in low-light settings
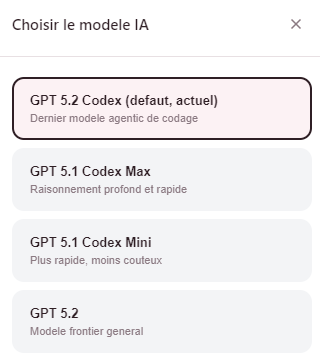
7.2 AI Model
Select which AI model the assistant uses. Different models offer varying trade-offs between speed and capability. Change this setting to experiment with what works best for your tasks.
7.3 Custom Prompt
Define global instructions that are sent with every message to the AI. This is useful for setting:
- A preferred tone or communication style
- The language the AI should respond in
- Specific rules or constraints for responses
7.4 Custom Skills
Create your own skills to automate repetitive tasks. Each custom skill includes:
- Name — A short label for the skill
- Description — What the skill does (shown in the dropdown)
- Detailed instructions — The full prompt sent to the AI when this skill is active
- Prerequisites — Any files or context the skill expects
- Examples — Sample inputs and outputs to guide the AI
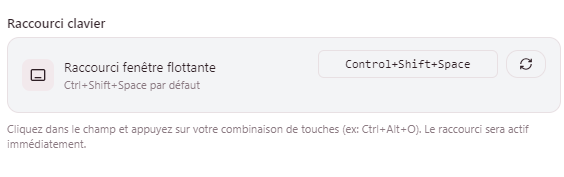
7.5 Global Shortcut
The default global shortcut to open the Alva overlay from any application is Ctrl+Shift+Space. You can customize this to any key combination you prefer in Settings.
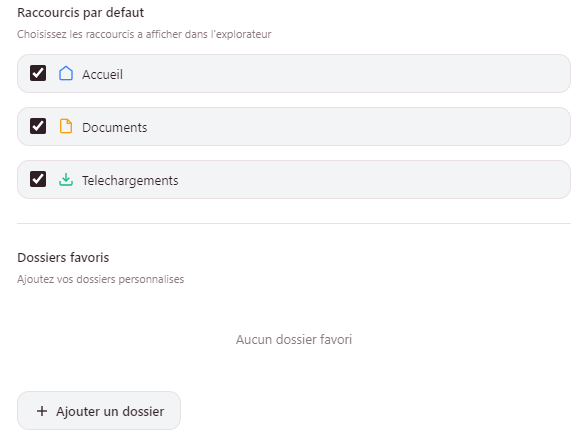
7.6 Quick Access
Customize which folders appear in the quick access section of the file explorer. By default, Desktop, Documents, and Downloads are shown. You can add any custom folder path.
7.7 Gemini Configuration
Configure the Gemini API for Documents mode:
- API Key — Your Google Gemini API key
- Temperature — Controls response creativity (lower = more focused, higher = more creative)
- Max Tokens — Maximum length of the AI response
See the Integrations guide for instructions on obtaining an API key.

7.8 Meeting Settings
Configure how Meetings mode behaves:
- Language — The language spoken in your meetings (used for transcription accuracy)
- Whisper Model — Choose between small (faster transcription) and large (more accurate transcription)
- Storage Folder — Where recorded audio files and transcripts are saved
8. Keyboard Shortcuts
General
| Shortcut | Action |
|---|---|
| Ctrl+N | New conversation |
| Ctrl+L | Clear current conversation |
| Ctrl+B | Toggle file explorer |
| Ctrl+, | Open settings |
| Ctrl+/ | Show keyboard shortcuts |
| Ctrl+Shift+C | Copy entire conversation |
Navigation
| Shortcut | Action |
|---|---|
| Ctrl+Tab | Switch to next mode |
| Ctrl+Shift+Tab | Switch to previous mode |
Meetings
| Shortcut | Action |
|---|---|
| Ctrl+M | New meeting |
| Ctrl+R | Start / stop recording |
Global
| Shortcut | Action |
|---|---|
| Ctrl+Shift+Space | Open Alva overlay from any application |
9. Updates
9.1 Manual Update
You must fully close Alva before running an update. The installer cannot replace files that are in use.
To update Alva manually, follow these steps:
- Close Alva completely — Simply closing the window may not be enough. Open Task Manager (press Ctrl+Shift+Esc), find the process named "Electron" or "Alva", and click End Task.
- Download the latest installer — Get the new version from the download page.
- Run the installer — It installs over the existing version. Your data, settings, conversation history, and custom skills are all preserved.
- Launch Alva — Open the app normally. You are now on the latest version.
There is no need to uninstall Alva before updating. The installer handles everything automatically, updating the application files while keeping your personal data intact.
10. FAQ & Troubleshooting
The very first launch is slower than usual because Alva needs to initialize its components and cache data. Subsequent launches will be significantly faster as everything is already cached.
Check the following:
- Make sure all dependencies are installed (Python, FFmpeg, Faster-Whisper). You can check and reinstall them in Settings.
- Ensure you have at least 5 GB of free disk space for the transcription model and temporary files.
- If problems persist, try reinstalling the dependencies from Settings.
Go to Windows Settings > Privacy > Microphone and ensure that the toggle is enabled for Alva (or the Electron app). Also check that your microphone is not being exclusively used by another application.
Try the following steps:
- Check your internet connection — the AI requires an active connection to function.
- Open a new conversation tab with Ctrl+N and try again.
- Restart the application completely.
Verify your credentials in Settings > Inbox:
- Outlook requires an app password (not your regular email password). See the Integrations guide for setup instructions.
- Jira requires a valid API token and the correct site URL. See the Integrations guide for details.
Also make sure your email account and Jira site are accessible from your current network.
Alva supports automatic updates. When a new version is available, a notification appears in the app. You can click "Restart" to apply the update immediately, or the update will be applied automatically the next time you launch Alva.
Need help?
If you cannot find the answer to your question here, reach out to the Clearpath team through the support option in the app's menu.